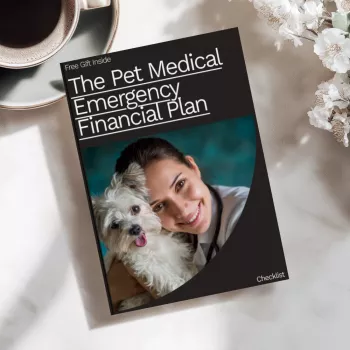
A sudden illness or accident can force fast decisions—medical, logistical, and financial. A simple emergency fund and a clear payment plan reduce stress, speed up treatment, and help avoid high-interest debt. Use the checklist below to set a realistic savings target, organize key documents, and create a step-by-step action plan for the first hour, first day, and first week of a pet emergency.
A pet medical emergency fund is cash set aside specifically for urgent veterinary care—think after-hours visits, diagnostic testing, surgery deposits, and immediate medications. Its job is simple: remove decision-delay so treatment can start quickly when minutes matter.
Many clinics require payment (or a deposit) up front. Having cash ready can prevent a stressful scramble while your pet is in pain or unstable.
Rather than guessing a single number, set a tiered goal based on your pet’s profile and your local reality. A young indoor cat typically has different risks than a senior dog with arthritis who hikes every weekend.
| Tier | What it typically covers | Suggested target range | Who it fits best |
|---|---|---|---|
| Starter Buffer | Exam, basic labs, pain control, initial stabilization deposit | $300–$800 | New savers, lower-risk pets, households building momentum |
| Stabilizer Fund | Diagnostics + treatment decision (x-rays/ultrasound, meds, fluids, partial hospitalization) | $1,000–$2,500 | Most adult pets; solid baseline for common emergencies |
| Full Emergency Target | Major surgery/hospitalization, complicated cases, multiple nights of care | $3,000–$8,000+ | Senior pets, chronic conditions, high-risk breeds, limited local clinic options |
If you’re unsure where to start, aim for the starter buffer first (speed matters), then climb toward the stabilizer tier as your baseline.
Emergency money should be accessible within minutes, not days. The goal is reliable liquidity, not investment returns.
For general emergency-savings best practices, the Consumer Financial Protection Bureau (CFPB) offers guidance on building buffers and avoiding costly debt cycles.
The best emergency fund is the one that grows even during busy, expensive months. Keep the system simple enough that it runs without motivation.
A practical approach is “tier stepping”: build to the starter buffer, then maintain it while you expand toward the stabilizer fund.
In the first hour, clarity matters more than perfection. You’re trying to get your pet to care fast and reduce avoidable delays at intake.
For reliable pet-care resources and planning basics, the American Veterinary Medical Association (AVMA) is a strong starting point.
If your pet may have eaten something toxic, the ASPCA Animal Poison Control Center can help you act fast with the right next steps.
A practical approach is tiered: $300–$800 as a starter buffer, $1,000–$2,500 as a stabilizer fund, and $3,000–$8,000+ for a full emergency target. Adjust upward for senior pets, chronic conditions, high-risk lifestyles, or limited local emergency clinic options.
No— they work best together. Your emergency fund helps you pay immediately (including deductibles and exclusions), while insurance can protect against the largest bills and help reimburse eligible costs after the claim is processed.
A separate high-yield savings account (or dedicated sub-account) is usually ideal because it stays stable and is accessible quickly. Avoid investing emergency cash in volatile assets that could be down when you need to pay a clinic deposit.






Leave a comment